Scrivener 3’s Linguistic Focus
One of the best new features in the updated Scrivener 3 is the new functionality called linguistic focus. This is one of those features you didn’t know you needed until you had it. It reminds me a little bit of the Sony Walkman back in the day. You finally had a music device that gave you portability, control, and some longevity…until the iPod came along, and blew up the whole notion of portable music, and changed an industry forever. #Revelation
Linguistic Focus in Practice
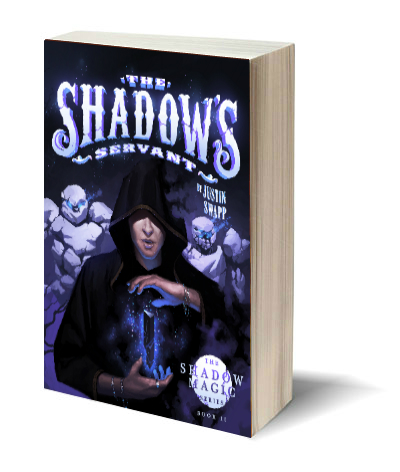
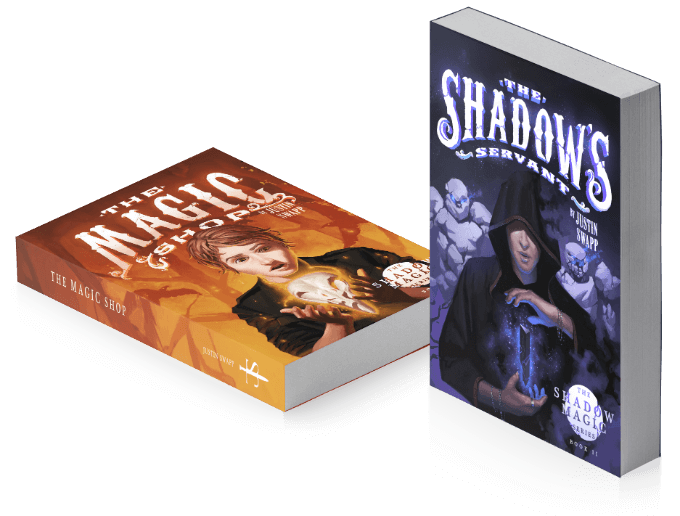
Once you’ve edited with Scrivener 3’s linguistic focus, you’ll realize that there was always a better way to edit. Take me, for example. I recently released my second novel, and it wasn’t until I was on my second edit that I realized I had a character with a very specific speech pattern that required special attention, or it wasn’t going to work. I was a little overwhelmed at first until I remembered I had upgraded to Scrivener 3 which happened to come with this new handy dandy feature.

I scrambled to find the linguistic focus feature (Edit —> Writing Tools —> Linguistic Focus. Once activated, Scrivener 3 gave me a little dialogue box (pop up window) that let me control the parts of speech I wanted to zero in on. Scrivener achieves this by “greying out” the text that doesn’t belong to the part of speech you select, in effect, bringing it to the foreground.

By selecting “Direct Speech” I was able to “focus” in on the dialogue, the very part of speech I was trying to address. After that, a simple Command + F (to search, or “find”) on a Mac, or CTRL + F for Windows to search for my character’s dialogue tags (his name) let me quickly identify his speech and dialogue beats. I can only estimate how much time this feature saved me, but I have no doubt it was significant.
If you haven’t fired up the linguistic focus feature yet, I’d highly recommend you give it a whirl. Like me, you might just find you’ve outlived your Walkman, and have had an iPod within reach this whole time.


